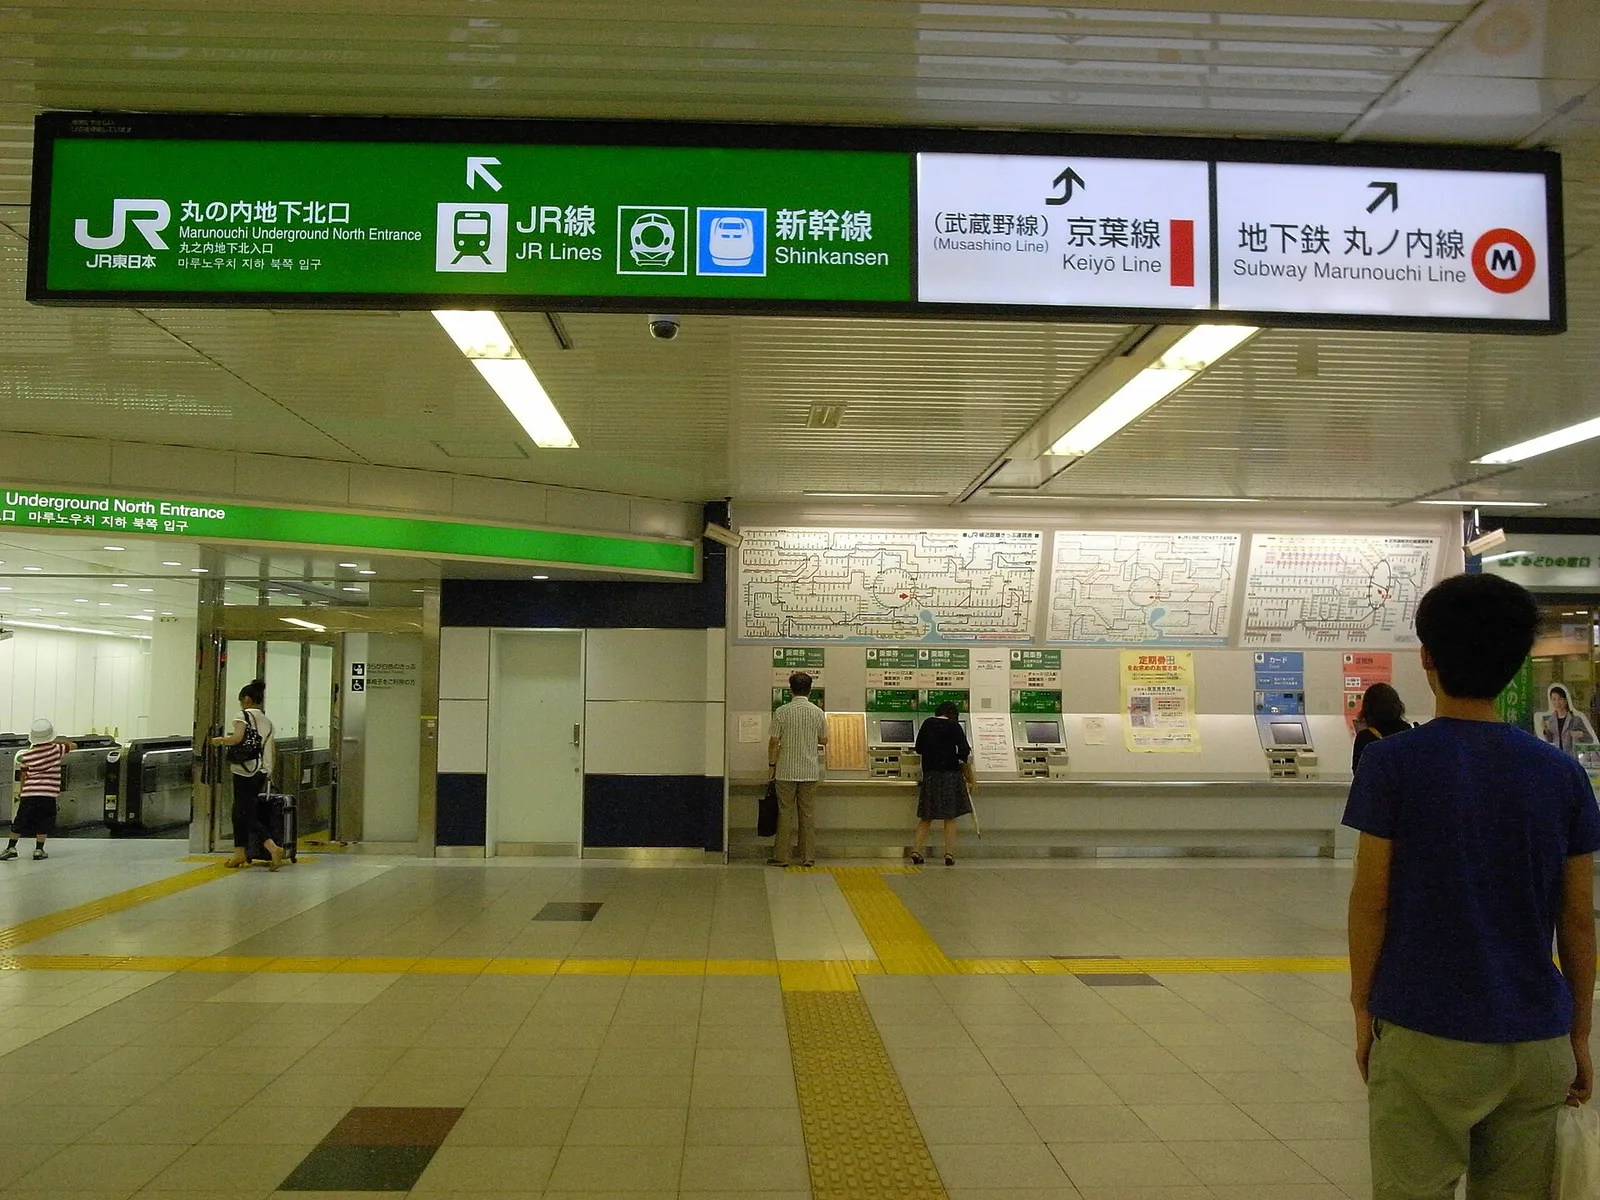
Japan is a country where the addresses are numbered by the age of the building rather than by position on the street, where a station can have twenty exits and choosing the wrong one adds a quarter of an hour, and where restaurant hours are posted online and nowhere else. It is also a country whose public wifi is worse than almost every visitor expects. Getting data sorted is not a nice extra here; it is the thing that makes the rest of the trip work.
The three options
An eSIM, bought online before you travel, installed at home, activated on arrival. No collection, nothing to lose, works immediately.
A physical SIM, bought at the airport or in an electronics shop, which requires swapping your own card out and keeping it safe.
Pocket wifi, a rented router collected at the airport or delivered to your hotel and posted back, which shares one connection between several devices.
Roaming on your home plan, which works and is usually the most expensive option by a wide margin.
Free wifi alone, which is not a plan.
Choosing between them
Solo or a couple: eSIM, almost always.
A family or a group of four: pocket wifi can be cheaper and means one bill, at the cost of staying together.
A phone without eSIM support: physical SIM.
Needing a Japanese phone number for restaurant reservations: a voice enabled physical SIM, which most visitors do not require.
A long trip: compare monthly plans, since the per day cost falls sharply.
What you actually use it for
Maps, constantly, because Japanese addresses do not work the way western ones do.
Train apps, for platform numbers, transfers and the last service home.
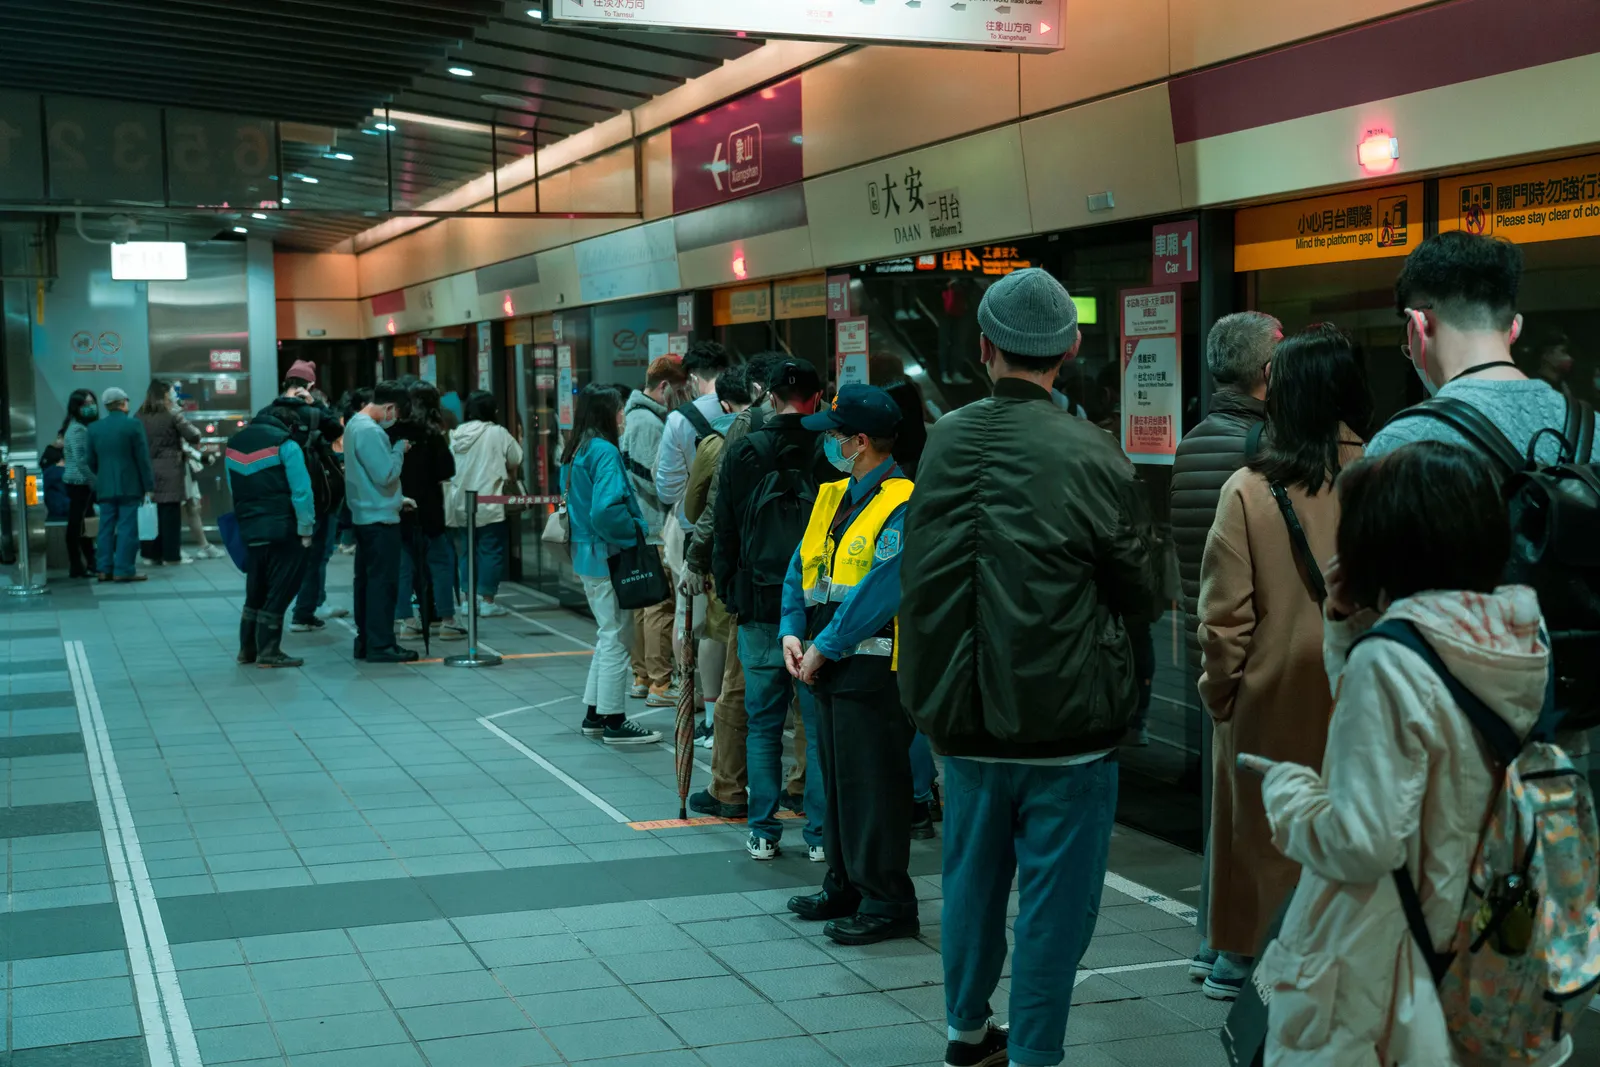
Station exits, which are the difference between a two minute walk and a twenty minute one.
Translation, pointed at menus, signs and packaging.
Restaurant hours and reservations, which are almost entirely online.
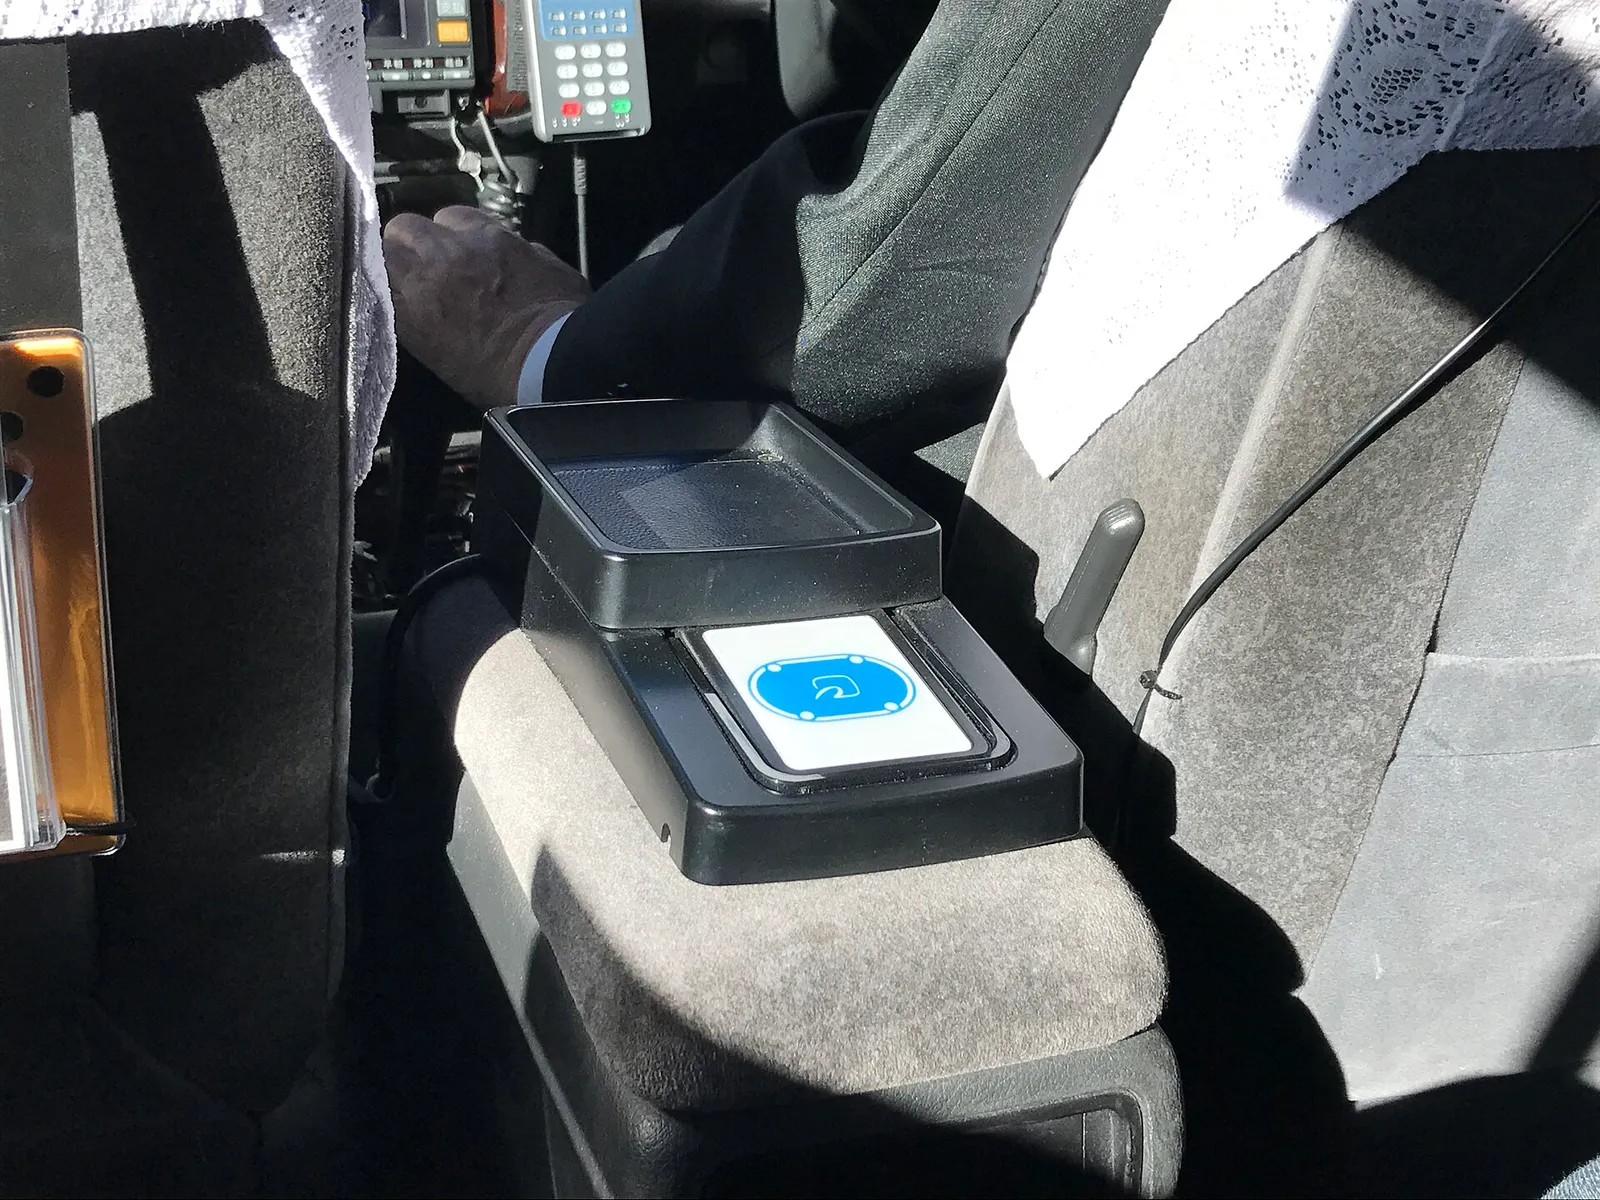
Payment apps and IC card top ups on some phones.

Practical notes
Unlock your handset before you leave home if you plan to use a local SIM or eSIM.
Install the eSIM at home, on wifi, rather than trying to do it in an airport with no connection.
Keep your home SIM somewhere safe if you swap a physical one.
Airport counters are convenient and rarely the best value.
Download offline maps of the cities you are visiting as a backstop.
Battery, since a day of live navigation drains a phone; a power bank is genuinely necessary.
Where this fits in a Japan trip
This is a before you fly task and it takes ten minutes.
For everything else to arrange before departure, our first time guide to Japan covers the list.
For the other card that makes daily life here frictionless, our guide to the Suica and IC cards covers how they work.
And for how the data plan fits into the wider cost of a trip, our guide to what Japan actually costs covers the budget.
The short version
Buy an eSIM before you fly, install it at home and activate it when you land, and skip the airport counter entirely. Choose a generous data allowance rather than the cheapest one, because a Japan trip runs a live map all day. Take pocket wifi instead if you are a group of four sharing, and a physical SIM if your phone cannot do eSIM. Download offline maps as a backstop, carry a power bank, and do not plan on free wifi, which exists and will let you down at the exact moment you need it.